In honor of UVa Early Action decisions coming out today, I thought it might be appropriate to share some words of wisdom on how I ended up at UVa and why I am utterly embarrassed that I even considered other schools throughout my high school career.
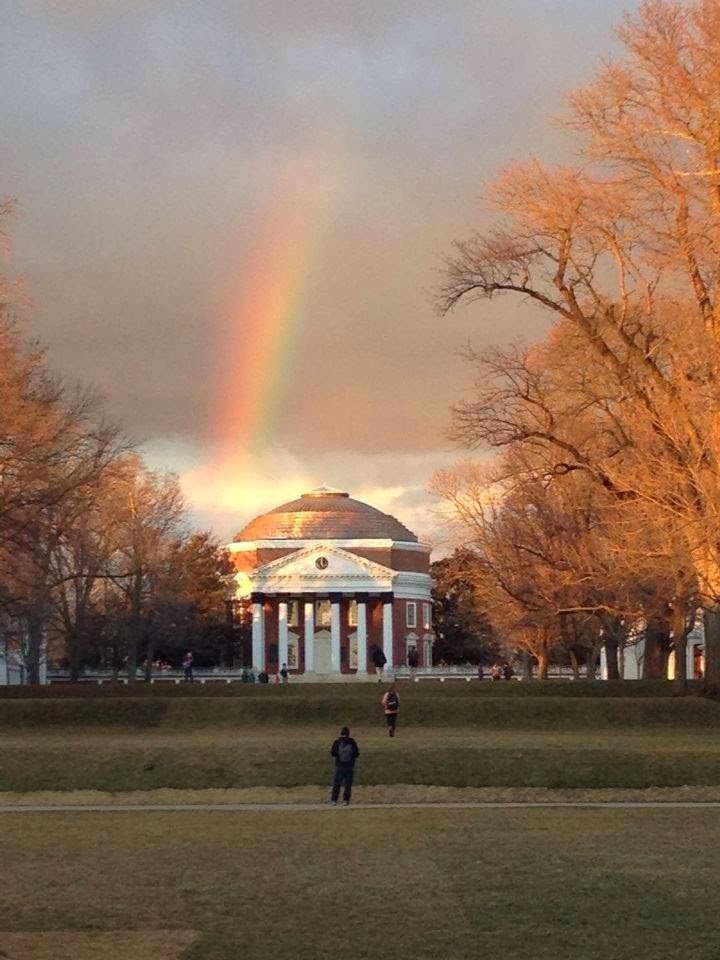
taken by fourth-year, Tyler Crown on Monday
The first time I visited UVa was the summer before my senior year of high school. Prior to that, I had always dreamed of being a UNC Tarheel (boo). I promise you that as soon as my mother and I viewed Grounds for the first time that August, I knew this is where I wanted spend my college career.
The next day, I did the typical college talk and admissions tour. My tour guide was wonderful, and was full of enlightening information about the university and it's history. But what stood out to me the most about my tour guide was her overwhelming passion for the place. This was no scripted tour, it was so blatantly obvious that she cared deeply about the university she had only attended for a year. I hadn't seen anything like that at any other tour I attended for any university. (Freakishly enough, that tour guide would later become my RA the following August! She is still the best, and I love her even more now.)
I came back to Tampa knowing that UVa is where I belonged. Waiting for admissions decisions to be posted was absolute torture, I remember the eerie feeling of all of my friends getting acceptance letters and me waiting for my first one, which was UVa in mid-January.
Something that I think is very telling of where you want to go to college (if you aren't 100% sure) is the moment you click the "View Decision" button and realize you are accepted. As soon as I read I was accepted, I genuinely did not believe it. I reread the first sentence over and over to make sure I was not imagining it, and to make sure I actually had been accepted. I was alone in my house when I read that decision, and I remember calling my parents to tell them and crying on the phone. My adrenaline and excitement was through the roof, which is very uncharacteristic of me. This would be the first and last time I got that excited over a college acceptance over the next few months. My candid reaction told me that this is exactly what I wanted, and the overwhelming excitement and relief was enough to get me through my high school semester exams ;)
Now, by all means, it is good to have options. I was so thankful for every college acceptance I received in 2013. But, the joy I received from my UVa acceptance surpassed all the others tenfold, and that's when I truly realized I had to get up to Charlottesville some way or another.
Some things I would greatly encourage current high school seniors going through the application process are to visit the school after you have been accepted if you are considering it, but as a student. Stay with a friend, or at the very least, meet up for coffee and a casual afternoon with an older person you know from high school, home, camp, whatever. There is a great difference between what it's like to walk around Grounds (or campus) in a tour setting, and what the day-to-day life of a student is at any university.
Another thing I would definitely advise people to do is to find some way to sit in on a class. Many universities have formal programs that you can do this through, but it also works just to tag along with a friend to a lecture on something that interests you. Obviously, every class is different within a university, and it definitely would not be fair to judge a university based off of one lecture. But it's still a great opportunity to see what kind of facilities the university has, observe class sizes, and learn something - after all, that's what college is all about.
My last piece of advice is to refuse to settle, if at all possible. It's no secret that out-of-state and private tuition is expensive, trust me, I know. But I think the benefits are worth the costs if you are willing to make it work.
And if in the back of your mind while reading this post you could relate specifically to UVa, here are some easy/fun things to do to keep you updated on life at TJ's university:
1. Follow @UVADeanGroves on Twitter. He's fabulous.
2. Like the "University of Virginia" page on Facebook. They post beautiful photos like the one of the Rotunda I placed earlier in this post, and include news and information about what's happening on Grounds.
3. Watch SNL this Saturday night to see the premier of Sasheer Zamata - a UVa alum - on the show. (Fun fact: Tina Fey also went to UVa. UVa loves SNL, I love SNL, so I love UVa.)
4. Look us up on all those college lists. We are really good at being positioned at the top of important college lists.
5. Follow @theuniversityofvirginia and @instalawn on Instagram. No filter or explanation needed.
PS: If you gather anything at all from this post, I want it to be how passionate everyone immersed in the UVa community is about this institution. It is unparalleled and unlike any other place in this world. Don't take my word for it either, ask any Virginia professor, alum, student, or fan.
Keep posted for another post coming soon
on my favorite things about UVa!
on my favorite things about UVa!


